In the upcoming Version 2.11, Xtext will support the Language Server Protocol defined by Visual Studio Code.
This is a very important step, as the protocol is generic and is going to be supported by other editors such as Eclipse or Che as well.
In this post I want to give the early adopters among us a head start and explain how to use this exciting new feature.
Try the example language
Installing a language extension in VS Code is easy: open the “Extensions” view on the left sidebar and search for “typefox”.
Install and activate the “mydsl” language, create a new file with that extension (e.g. test.mydsl ), and explore the editor support for this simple DSL.
Here’s an example snippet:
type A {
    int x
}
type B extends A {
    A ref
    string name
}
The source of this example is available on GitHub.
It has two main components: an Xtext example language consisting of a base project (io.typefox.vscode) and an IDE support project (io.typefox.vscode.ide), and a VS Code extension project (vscode-extension).
You can compile and run the example with the following steps:
- Run
./gradlew installServer
- Open the vscode-extension project with VS Code.
- Run
npm install in the integrated terminal (View → Integrated Terminal).
- Press F5 to start a second instance of Code.
- Test the language as described above.
Create your own language extension
In case you haven’t done that yet, start by creating an Xtext project and choosing Gradle as build system.
Make sure your Xtext version in the gradle build files is bumped to 2.11-SNAPSHOT.
In order to create a VS Code extension for your language you need to build an executable application from it.
I recommend the Gradle application plugin for this, which gives you a bundle with all required libraries and a startup script.
Just add the following lines to the build.gradle of the ide project of your language:
apply plugin: 'application'
mainClassName = 'org.eclipse.xtext.ide.server.ServerLauncher'
applicationName = 'xtext-server'
The command gradle installDist generates the executable in the subfolder build/install.
As a next step, create a VS Code extension following the documentation.
The official example uses a Node.js module to implement the server.
You can change that to start your language server application by using the following code in extension.ts to create the server options:
let executable = process.platform == 'win32' ? 'xtext-server.bat' : 'xtext-server';
let serverLauncher = context.asAbsolutePath(path.join(
        'xtext-server', 'bin', executable));
let serverOptions: ServerOptions = {
    run : { command: serverLauncher }, debug: { command: serverLauncher }
}
If you have set up your VS Code project properly, you should now be able to start a second Code instance that includes your extension by pressing F5.
Open a folder in that new instance and create a file according to the file extension of your language.
Now language support should be active, and the debug console of the host instance of Code should show a message like “Loading development extension at …” – You’re done!
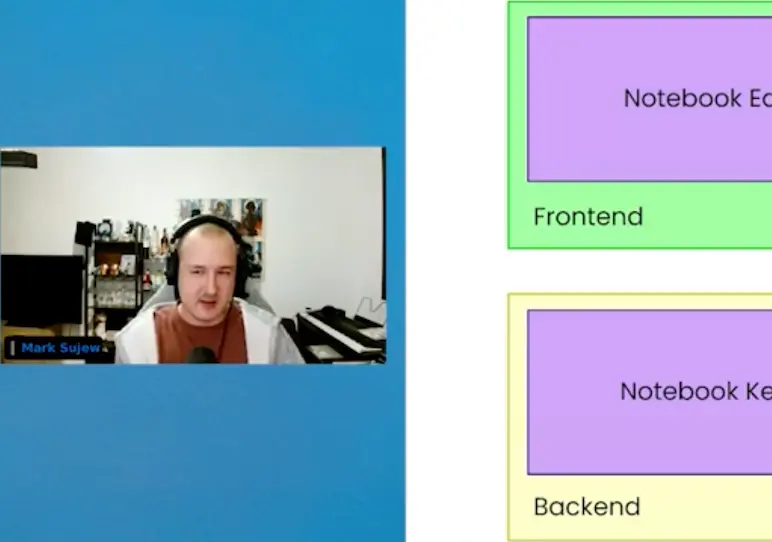
How Xtext integrates with VS Code
In VS Code a language server is a process that is started and used by an extension, i.e. a plug-in for VS Code.
The process application can be implemented in any programming language, and VSCode speaks to it through an input and an output stream (i.e. standard in/out or a socket).
Starting and initializing
After launching the process, VS Code initializes the language server by sending a message.
This message includes a path to the root directory the editor is looking at (unless the file is opened without a root directory).
In Xtext we take that directory and do a quick build that includes indexing. In order to tell what kind of project structure we are looking at, the Xtext language server will be capable of using different project description providers.
One for instance could be able to ask Gradle for the modules and dependencies, another could simply read ‘.project’ and ‘.classpath’ files.
At the time of writing this we only have a dump; treat it as one project without implementation of dependencies.
However, this will change in the coming weeks.
During the first build, Xtext might already find problems in your source code. In that case the language server will send notifications to the editor reporting those diagnostics.
Many languages per server
Usually a language server is responsible for one language. However, in order to allow cross-language linking and transitive dependency analyses, the Xtext language server can host as many langauges as you want.
For VS Code it will look like one language with many different file extensions.
The language server is a common reusable component that you don’t need to configure besides the project description provider mentioned above.
The participating languages are loaded through a Java ServiceLoader for the type ISetup.
The necessary entry under META-INF is generated for you if you use the latest nightly build.
Roadmap
The Xtext 2.11 release is planned for October 2016.
This version will already allow you to create language support extensions for VS Code, but you can expect more interesting integrations in the future, e.g. the web IDE Che.
The current language server implementation of Xtext builds on the ls-api library, which I described in a previous post.
This library is going to be moved to LSP4J, a new project proposed under the Eclipse umbrella.
 Dr. Miro Spönemann